Shallow Depth Of Field Photography
Hey there photography enthusiasts! Looking to up your game with some shallow depth of field techniques? Well, have no fear because I have scoured the internet for some amazing examples and tips to help you get started. So, grab your camera, adjust those settings, and let's dive into the wonderful world of blurry backgrounds and sharp subjects!
Depth of What Now?
Understanding Shallow Depth of Field
Before we jump into the tips and tricks of shallow depth of field photography, let's briefly discuss what it actually is. Depth of field refers to the range of distances that are in focus in a photograph. Shallow depth of field refers to a photograph where only a small portion of the scene is in focus, while the rest of the image is blurred out. This effect can be used to make your subject stand out and draw attention to it, or to create a dreamy, bokeh-filled background.
Examples to Inspire You
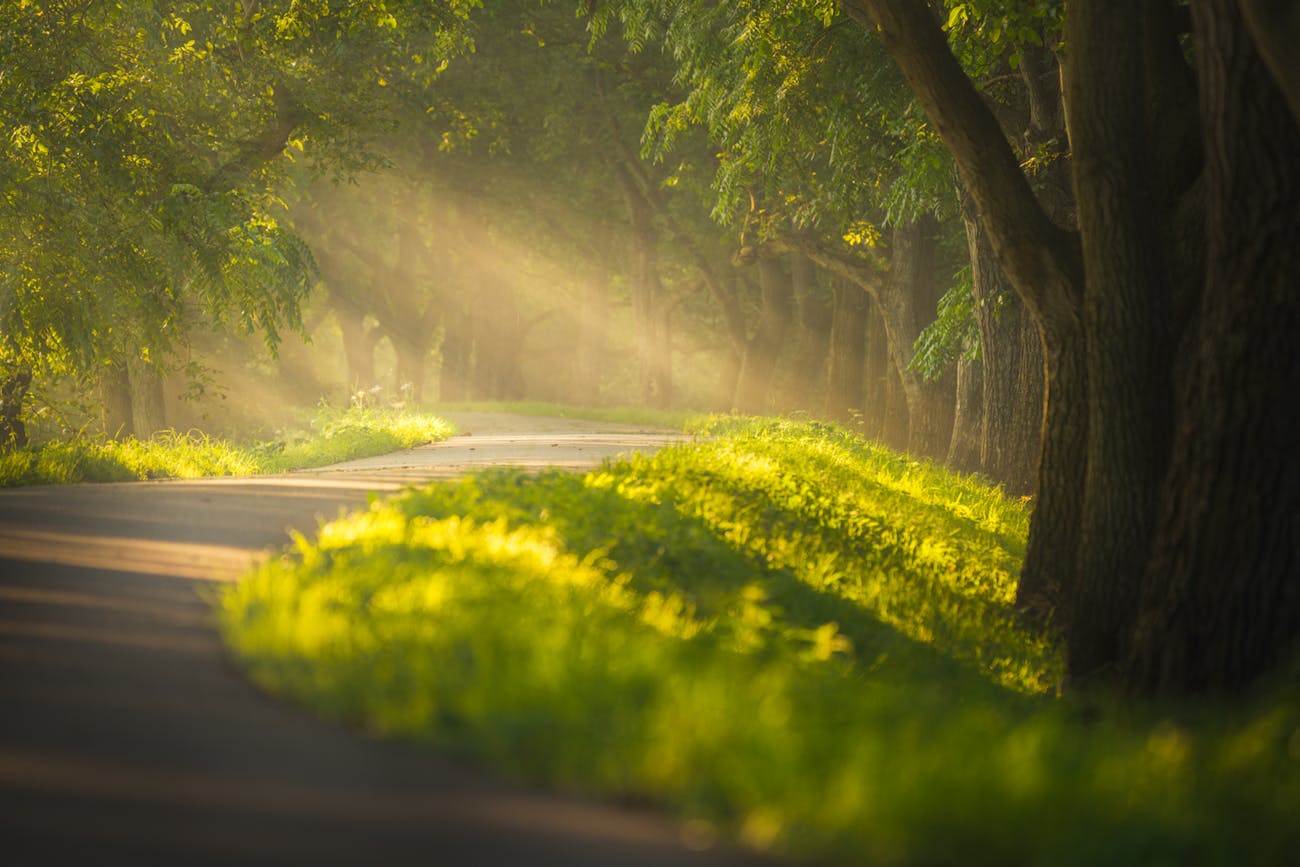
30+ Photos with Shallow Depth of Field
To get your creative juices flowing, check out this fabulous collection of photos that utilize shallow depth of field. From stunning landscapes to adorable animals, these images are sure to inspire you to try out this technique for yourself.
Tips and Tricks
How to Achieve Shallow Depth of Field
Now that you've seen some stunning examples of shallow depth of field photography, let's talk about how you can achieve this effect in your own photos. Here are a few tips and tricks to get you started:
1. Use a Wide Aperture
Aperture refers to the opening in your lens that lets light into your camera. A wide aperture, such as f/1.8 or f/2.8, means that the opening is larger, which results in a shallow depth of field. However, keep in mind that using a wide aperture also means that your shutter speed will need to be faster to compensate for the extra light coming into your camera.
2. Get Closer to Your Subject
As you move closer to your subject, the depth of field becomes shallower. This is because you are physically closer to the subject, so there is less distance between the part of the image that is in focus and the part that is not.
3. Use a Longer Lens
Longer lenses, such as telephoto lenses, naturally have a shallower depth of field. This is because they compress the distance between the subject and the background, making it easier to blur out the background.
4. Experiment with Distance
If you're shooting a portrait or a still life, try moving your subject farther away from the background. This will create more space between the subject and the background, making it easier to blur out that background.
5. Use Manual Focus
When using autofocus, your camera will try to focus on the closest object in the scene. However, when shooting with a shallow depth of field, you may want to focus on a specific part of the subject instead. Switch to manual focus to have more control over where the focus lies in your image.
Conclusion
Well, there you have it folks! A crash course in shallow depth of field photography. Hopefully, these tips and tricks have inspired you to try out this technique for yourself. Remember, the best way to get better at photography is to practice, so grab your camera and start snapping away!


Happy shooting!
View more articles about Shallow Depth Of Field Photography
Post a Comment for "Shallow Depth Of Field Photography"