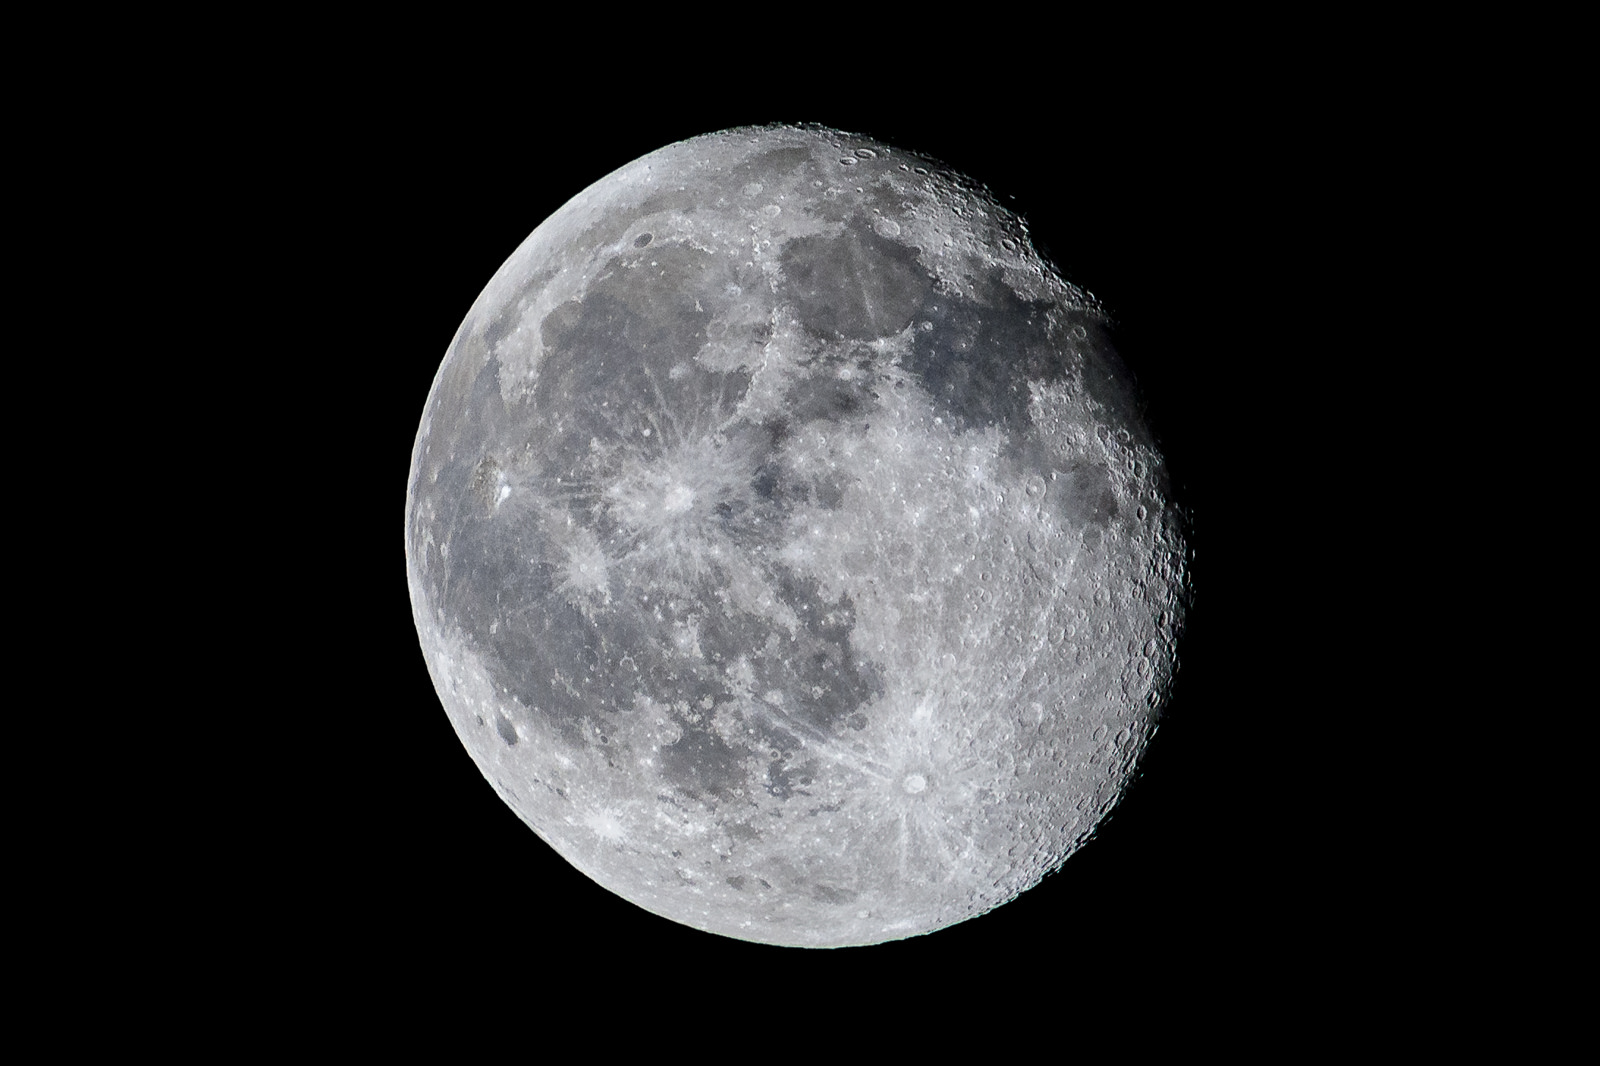
Settings For Moon Photography
Settings For Moon Photography - Are you looking to capture stunning shots of the moon? Whether you're a professional photographer or an amateur enthusiast, there's no denying the beauty and allure of the mysterious glowing orb. With the right equipment and a little know-how, you can take stunning photographs of the moon that will leave you breathless. In this article, we're going to share some of our top tips for capturing the perfect moon shot. From finding the right settings to choosing the right lens, we'll cover everything you need to know for moon photography success.
8 Tips for Perfect Moon Photography Settings
Tip 1: Use a tripod

One of the most important things you need for successful moon photography is a steady shot. For this, a tripod is essential. Without a tripod, even small movements can blur your photo, resulting in disappointing results. A tripod helps stabilize your camera and ensures that your shots are sharp and clear.
Aside from using a tripod, you can also try using a remote trigger, a self-timer or even mirror lock-up to minimize camera shake.
Tip 2: Choose the right lens

The type of lens you use will play a big role in the quality of your moon photo. Ideally, you want to choose a lens with a long focal length, at least 200mm, to capture the details of the moon's surface. A telephoto lens would be perfect for this purpose, but if you don't have one, you can use a zoom lens and zoom in as far as possible.
You can also experiment with different perspectives and compositions by using a wide-angle or standard lens to include the moon in the landscape or as part of a portrait.
Tip 3: Use manual mode

For moon photography, you want to take full control of the camera settings, and the best way to do that is by using manual mode. This allows you to adjust the aperture, shutter speed, and ISO to get the perfect exposure. It also gives you more creative freedom to personalize your shot according to your style and needs.
Choosing manual mode also means that you will need to have a base understanding of how exposure works and how to use the exposure triangle. If you're new to photography, you can practice shooting in aperture priority or shutter priority mode to get a sense of the settings before you dive into manual mode.
Tip 4: Adjust the aperture
The aperture is one of the key settings you need to adjust for moon photography. It determines the depth of field and how much light enters the camera. A smaller aperture, such as f/11 or f/16, will create a clear focus on the moon's surface and produce a more defined photo. A larger aperture, such as f/2.8 or f/4, will create a shallow depth of field and a more blurred background. However, this may not be appropriate for moon photography as it can lead to the subject being too bright or too dark, depending on the other settings.
Tip 5: Adjust the shutter speed
The shutter speed controls how long your camera takes the photo. A faster shutter speed will freeze the motion and produce a sharper image, while a slower shutter speed will create motion blur. For moon photography, you want a fast shutter speed, at least 1/500 seconds or faster, to prevent camera shake or blur from the moon's movement. If you're struggling to get a fast enough shutter speed, consider using a higher ISO or a wider aperture to let more light into the camera.
Tip 6: Adjust the ISO
The ISO determines how sensitive your camera is to light. For moon photography, you want to use a low ISO setting to reduce the chances of noise or grain in your image. Depending on your camera and the lighting conditions, you may need to adjust the ISO up or down to get the correct exposure. A DSLR camera may let you use a higher ISO without affecting the image quality.
Tip 7: Consider the weather conditions

The weather plays a big role in moon photography. A clear night will always lead to the best results. However, if there is some cloud cover, you can use it to your advantage to create an interesting effect or add some drama to your photo. The time of day also makes a difference. Shooting during the moonrise or moonset time will give you longer shadows and more contrast in your photos.
Tip 8: Experiment with foreground elements

If you want to add some interest to your moon photography, consider including foreground elements. This can be any object, such as trees, buildings, or a body of water, that adds depth and perspective to your photo. By doing so, you can create a more engaging composition and capture a sense of place.
Are you ready to capture some stunning moon photos? By following these tips, you'll be well on your way to mastering the art of moon photography. Always remember that practice makes perfect, and don't be afraid to experiment with your settings and compositions. So grab your tripod, your camera, and head outside – it's time to shoot that gorgeous, glowing orb in the sky!
Read more articles about Settings For Moon Photography
Post a Comment for "Settings For Moon Photography"