Light In Studio Photography
Light In Studio Photography - If you're an aspiring photographer, then you know setting up the perfect shoot is as important as capturing the perfect shot. A studio plays a crucial role in this process, and the lighting is the most important factor that sets it all up. In this post, we'll talk about how to set up a studio photography light and what measures you can take to get the perfect shot every time.
Light Studio Basic Info and Buying Guide
1. Identifying the Right Studio Lighting Equipment
Before anything else, you need to identify the right studio lighting equipment that works for your kind of photography. The two most common types of studio lighting are flash and continuous. Here's a quick comparison:
- Flash: This type of lighting is perfect for photographers working in a studio for portraits or fashion photography. Flash lights offer incredibly quick lighting and pose a more natural-looking image than continuous lights. They also work as stunners for snapping pictures.
- Continuous: If you want to create slow-motion videos and complete control over your lighting, choosing continuous lighting is best. They are great for budget-friendly shoots and work as a perfect option for beginners.
2. Choosing the Best Light Source

In photography, the best light sources are those that produce natural color and highlight the subject in a soft, subtle way. These light sources include:
- Daylight: Studio photography in natural light offers an unmatched way of capturing the subject's true colors, which is why most photographers prefer to work during the day. The downside is that natural light can be unpredictable because it relies on the weather.
- Fluorescent: Fluorescent light bulbs are an affordable and versatile option for studio photography. They offer enough light for a professional shoot, and their energy efficiency means you can save money in the long run.
- LED: These lights are the most versatile option and offer the opportunity to adjust color temperature and brightness. They are an excellent option for shooting product images or videos with different lighting conditions. The only downside is that some LED lighting setups emit a strange color hue.
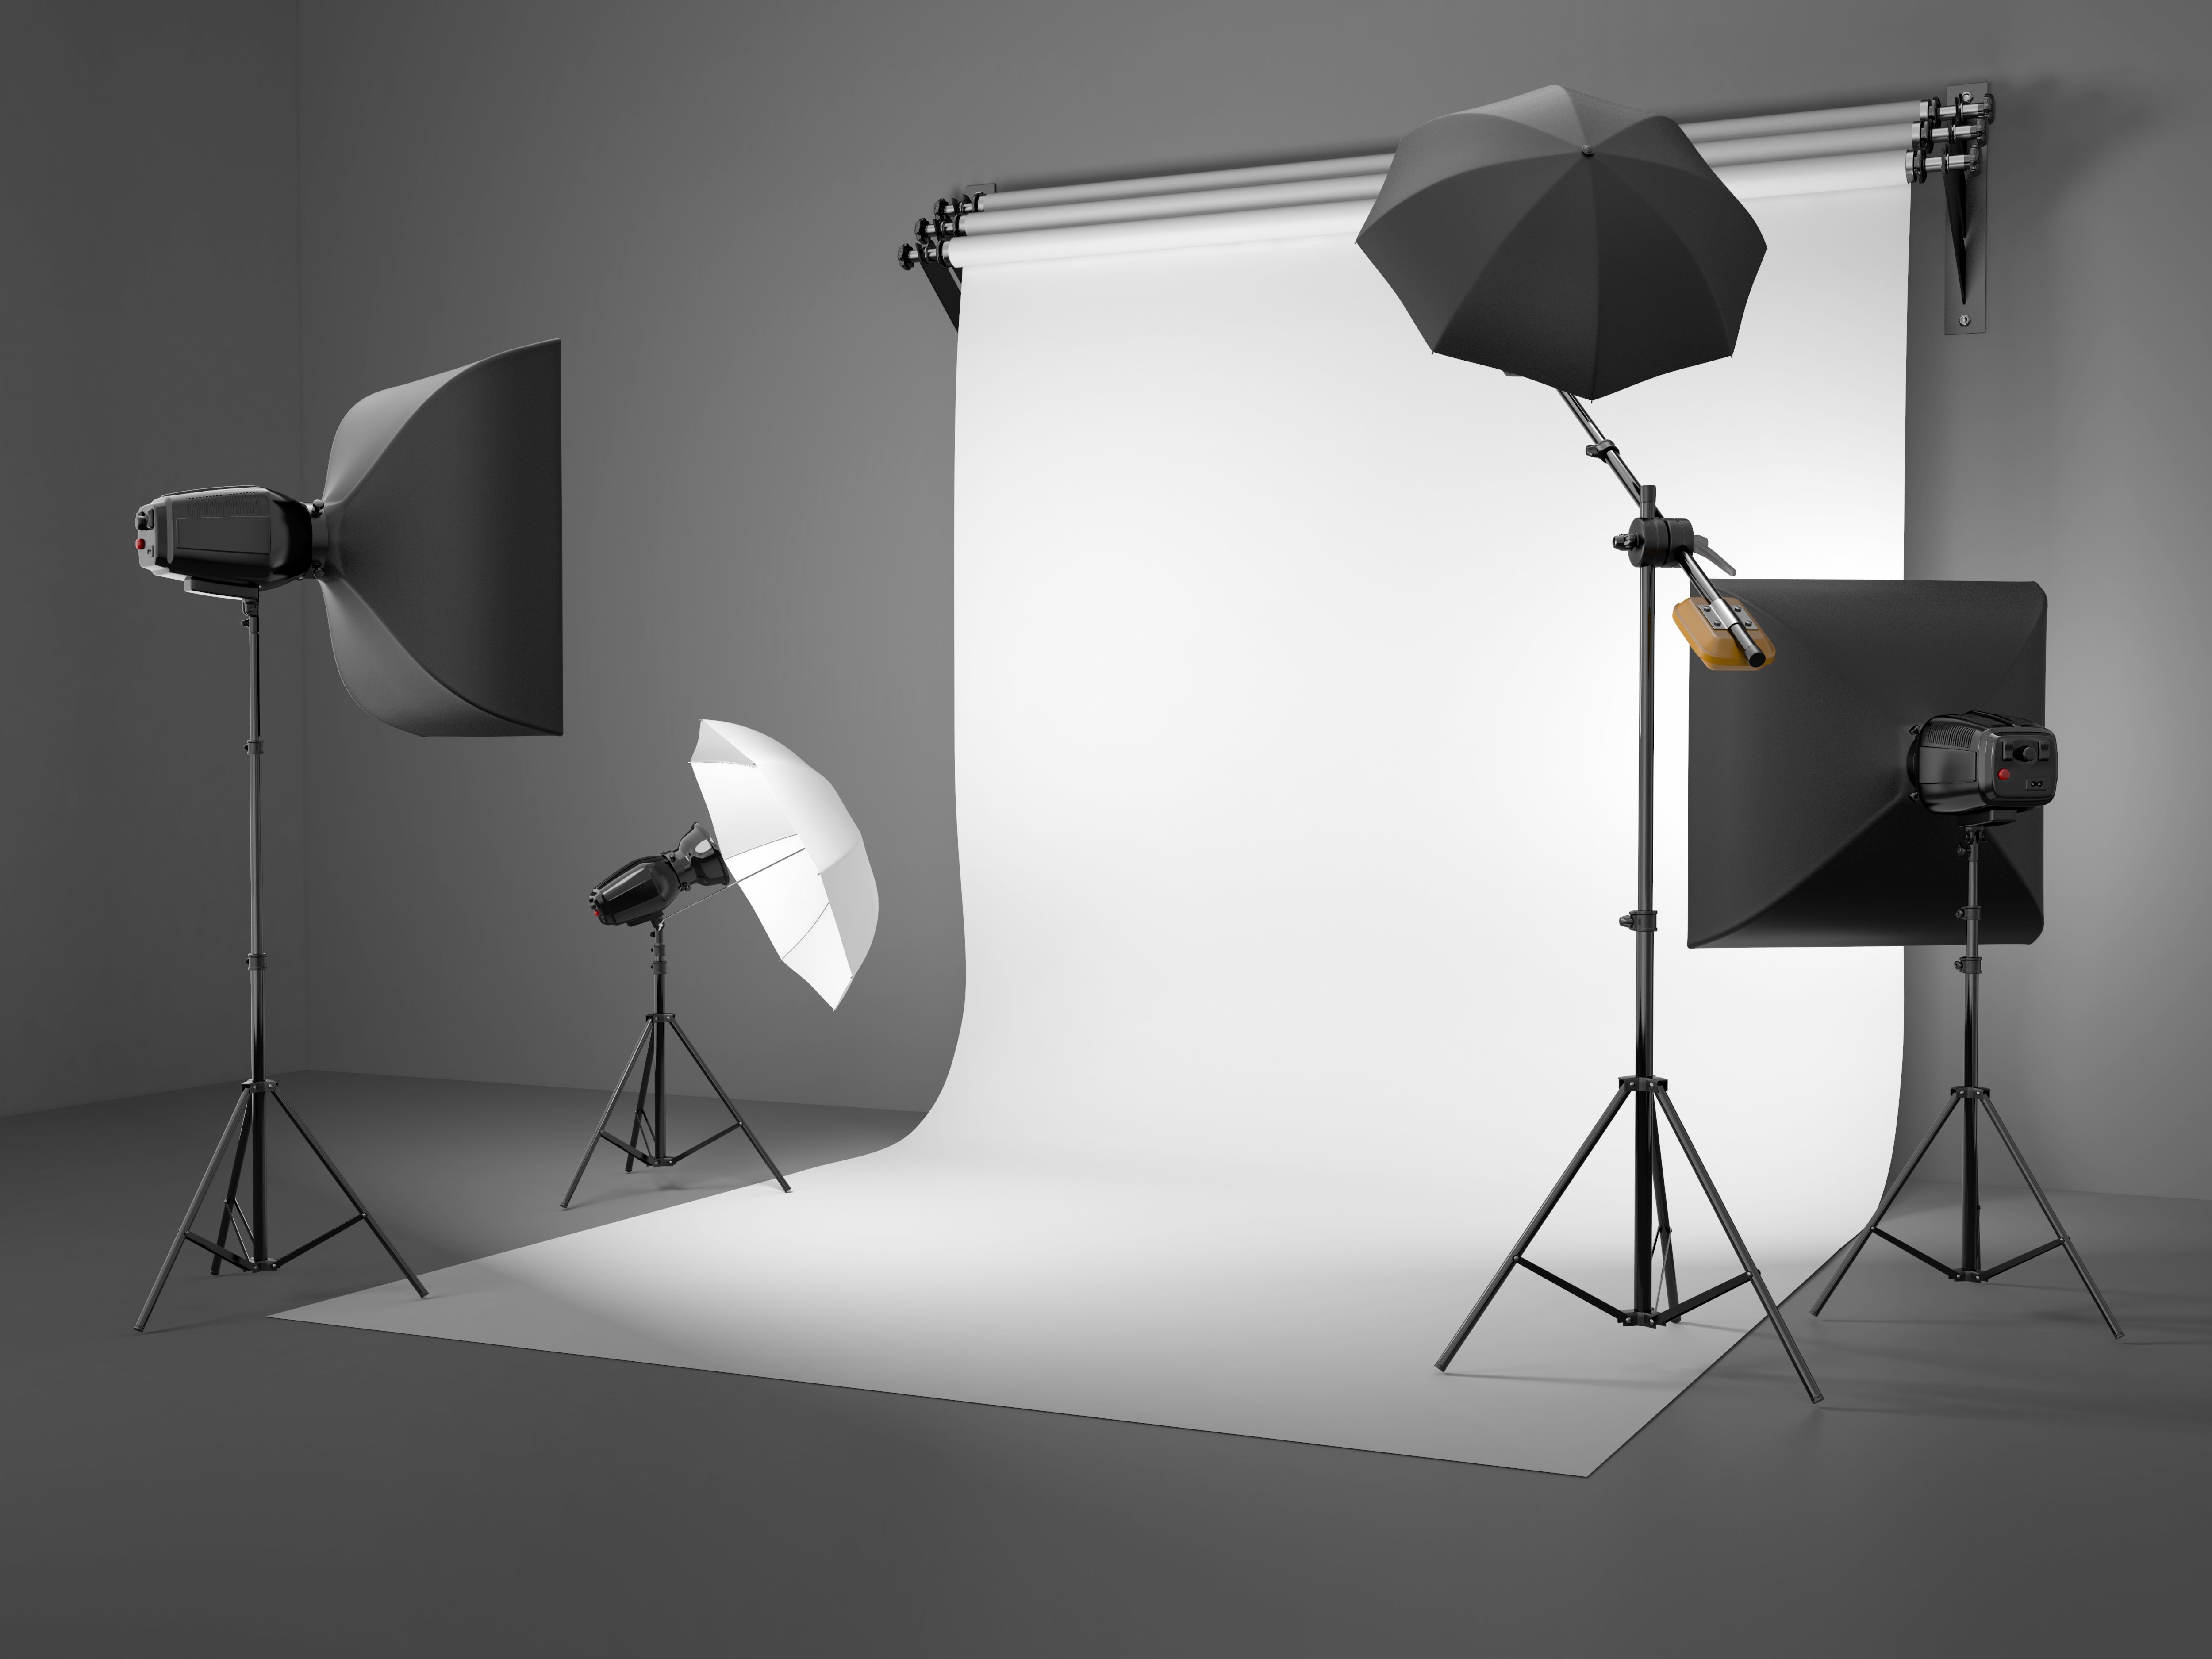
3. Studio Lighting Setup Tips

Once you have your lighting equipment, the next step is finding the right setup for your studio photography. Here are some tips:
- Position lights at different angles to create more interesting reflections and shadows.
- Use the shadows creatively to add depth to photos.
- Use light modifiers like diffusers and reflectors to control the light.
- Remember that the key light, which is the primary light source, is the most important along with the fill light.
- If you need a more uniform light source, having multiple lights of the same intensity will ensure that there are no harsh shadows or hotspots.
Home/Studio
1. Designing Your Home Studio

If you don't have access to a commercial studio, you can set up your own studio at home. Design your studio by selecting a space with good natural lighting, and keep in mind the continuous or flash lighting setup, which is affordable and easier to work with. The space should be large enough to accommodate the type of photography you're looking to do, but not too large that light reflects off the walls.
2. Starting Your Studio Space with Basic Lighting Kit

When it comes to starting up your studio with basic lighting kit, make sure to invest in a good light stand, and softbox or an umbrella for your flash or continuous light. This kit works well with product photography or portrait photography. If you need to add lighting accessories, speedlights, and reflectors work well for precision shots.
3. Tips for Better Home Studio Photography
To get that perfect shot at home, here are some tips to follow:
- Use white walls and fewer background colors to create a less distracting background.
- Create a list of the types of shots you want to take and prepare accordingly.
- Don't shoot under direct light, which may be too bright and create harsh shadows.
- Use reflectors to bounce light on the subject to fill up shadows.
- Don't use too many props, as they may take the attention away from the subject.
What Lights Are Used In Studio Photography?
When it comes to the types of lights used in studio photography, there are different types available, including:
- Flash: Flash lights were common and commonly used in studio photography since they provided the desired result. They offer quick lighting, are affordable and easy to use, making them popular with professional photographers.
- Continuous: Continuous lights provide a smooth and constant flow of light, making it ideal for product photography and video work because they enable you to observe and adjust lighting on set in real-time.
- LEDs: LED lights offer a balance of studio and location-based lighting. They come in different sizes and are easy to control, making them ideal for product and portrait photography, films, and content creation.
Conclusion
Setting up lights in studio photography can sound intimidating, but it doesn't have to be. The perfect lighting requires knowledge, attention to detail, and experimentation with different accessories and angles. Hopefully, our tips and insights have equipped you with the information you need to create magic in your studio. Happy clicking!
Find more articles about Light In Studio Photography
Post a Comment for "Light In Studio Photography"